

Star Wars Zero Company Beginner Guide: Your First Cycle
What the first Cycle asks of you, how Operations and Tactical Missions differ, how AP and cover work, and what Permadeath being on by default means.

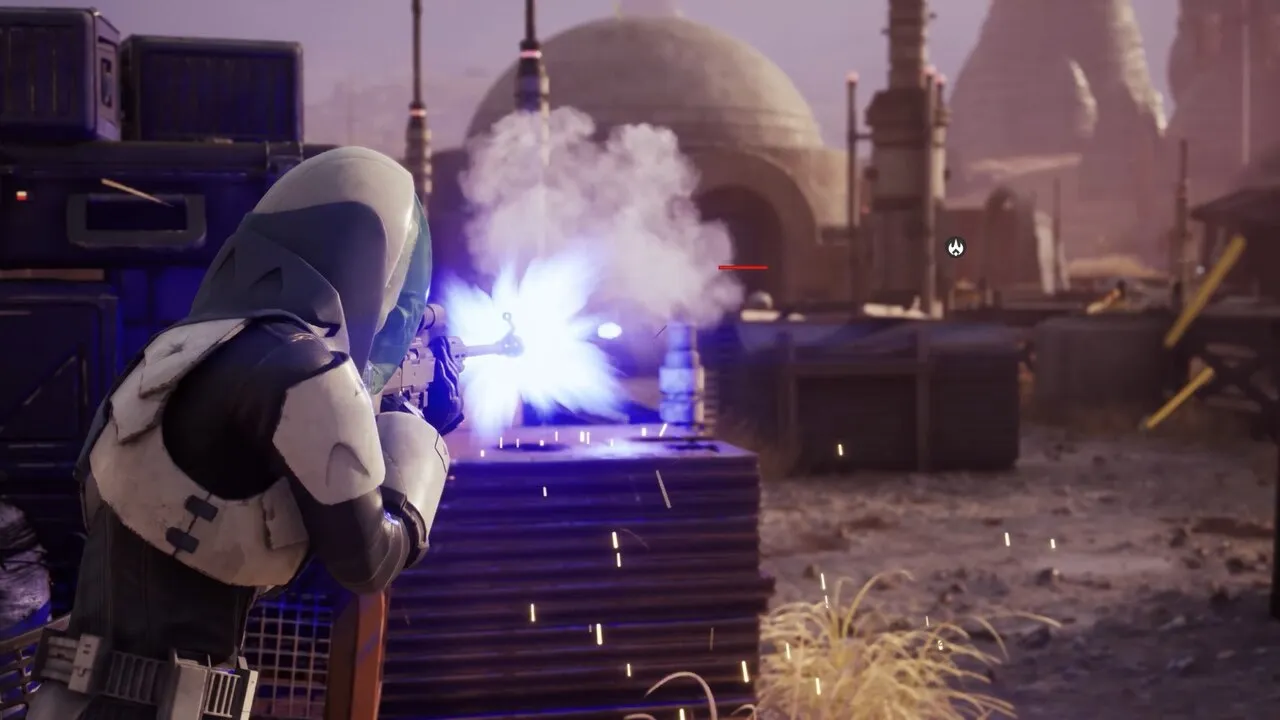
The first thing to do in-game is decide whether Permadeath stays on. It is enabled by default. With it on, three injuries on one Operator are permanent. Turn it off while you learn; you can switch it back any time.
What your first Cycle looks like
Your first Cycle begins at the Holotable in The Den, which lists two kinds of activity side by side:
- Operations: non-combat assignments resolved on the galaxy map. They cost Intel and can hand over rewards or unlock follow-up content immediately.
- Tactical Missions: the turn-based ground combat you lead yourself. The story advances through these.
The rule that matters: a Cycle only advances once you deploy a Tactical Mission.
That means anything on the Holotable with a deadline can vanish permanently if you skip it this Cycle. Story-critical activities become obligatory after a while, but ordinary opportunities will not wait.
Official launch material does not name one universal opening mission, because the activities on offer depend on where your campaign stands; your first mission is the available Tactical Mission or Operation shown on your Holotable.
The four mistakes that cost the most early
- Leaving Permadeath on and forgetting about it. The first hard fight then costs you a key Operator.
- Ignoring the difficulty and deadline on the mission card. Extreme belongs to a healthy squad; expiring work goes first.
- Spending Intel down before you look at the fight. Price the Operation and this Cycle’s Tactical Mission together.
- Leading with Hawks. Hawks must deploy on story missions, and Hawks dying fails the mission outright and has to be replayed.
The three things that decide combat
- Three action points per Operator per turn. Moving, attacking, using an item and activating a skill each cost what they say. Check what is left before you commit.
- Cover decides whether you get hit. Moving into cover before firing beats trading shots in the open by a wide margin.
- Overwatch spends leftover AP on a reaction shot. Since 1.1 it will not fire outside the targeting cone or through solid obstacles, so confirm where enemies are coming from before you set it.
Do these in order on your first Cycle
- Turn Permadeath off, or confirm you want it on.
- Treat injuries and check every Operator’s specialization and gear at The Den.
- Open the Holotable and read the objective, difficulty, deadline and rewards of each activity.
- Finish the Operations that expire or that unlock follow-up content, and keep Intel for the ones that matter more.
- Confirm squad condition, then deploy the Tactical Mission.
- On return, treat and re-gear before choosing the next Cycle.
Confirmed rules worth memorising
- The roster caps at 20 Operators and starts at 7.
- Standard deployment is up to 4 Operators.
- Bonds grow when the same Operators deploy together and unlock Cross Training. Secondary-specialization passives only enter the pool at Relationship +8.
- After 1.1, a 100% hit chance never misses, and the Bacta Tank can be used once per Cycle.
Read next: Operations and dilemmas, how missions and Cycles work, difficulty and Beskar Mode and the 1.1 patch notes.
Sources: the official launch FAQ (27 August 2026, Operation and Mission definitions, Permadeath default), the official community Q&A (21 July 2026, roster and squad caps, Hawks death rule), the official StarWars.com guide and the official 1.1 patch notes.